Every homeowner dreams of a perfectly cool summer and toasty winter with the click of a button. But when it comes to a split system installation, small mistakes can leave you sweating or shivering in your own home. Whether you’re in a bustling Melbourne suburb or a quiet rural area, the process and pitfalls are the same. Many homeowners assume that once the unit is purchased, the hard part is over. Unfortunately, that’s where some of the most common and costly mistakes begin.
From choosing the wrong system size to poor unit placement, even small oversights can lead to inefficiency, higher energy bills, and early breakdowns. It’s not just about comfort; proper installation directly impacts your air conditioner’s performance, lifespan, and running costs. Knowing what to avoid before starting can save you both time and money in the long run.
Whether you’re upgrading your home or installing a brand-new unit, understanding the fundamentals of split system installation in Melbourne will help you make informed decisions. Let’s explore the most common mistakes and how to avoid them for a flawless, energy-efficient setup.
1. Incorrect System Sizing
One of the biggest traps is choosing the wrong size unit. Pick an air conditioner that’s too small and it will struggle on Melbourne’s hottest days, running full bore and still failing to cool your room. Go too large and it will short-cycle, blasting cool air then shutting off after a few minutes, wasting energy and creating big temperature swings. As the Victorian Energy Upgrades program explains, “a system that is too large will cost more to buy and may cost more to run. Larger systems tend to be less efficient than smaller systems.” In short, an oversized unit blows money (literally) on wasted running costs.
- Too Small: Won’t reach temperature, runs constantly, high electricity usage.
- Too Large: Costs more up front, cycles on/off, humidity issues, and uneven comfort.
To avoid this, always calculate the cooling/heating load of the room. The area (m²) of the room, ceiling height, and insulation all matter. For example, Victoria’s guidelines show that a small room (up to 20 m²) typically needs about 2.5–3 kW capacity, while a very large open-plan living area (60+ m²) needs 8 kW or more. Here’s a quick sizing guide:
| Room size | Example | Recommended Capacity (kW) |
| Small (≤ 20 m²) | Bedroom, study | 2.5 – 3 kW |
| Medium (21–40 m²) | Large bedroom, lounge | 3 – 5 kW |
| Large (41–60 m²) | Lounge, large kitchen | 5 – 8 kW |
| Very Large (>60 m²) | Open-plan areas, halls | 8+ kW |
Even with a rule-of-thumb, the exact needs depend on insulation, number of occupants, and climate. To be safe, consult a qualified installer to perform a full load calculation. They will factor in room dimensions, orientation, insulation, and more. As the experts warn, sizing should always be done by a fully qualified technician. This ensures your split system installation is neither underpowered nor an energy monster.
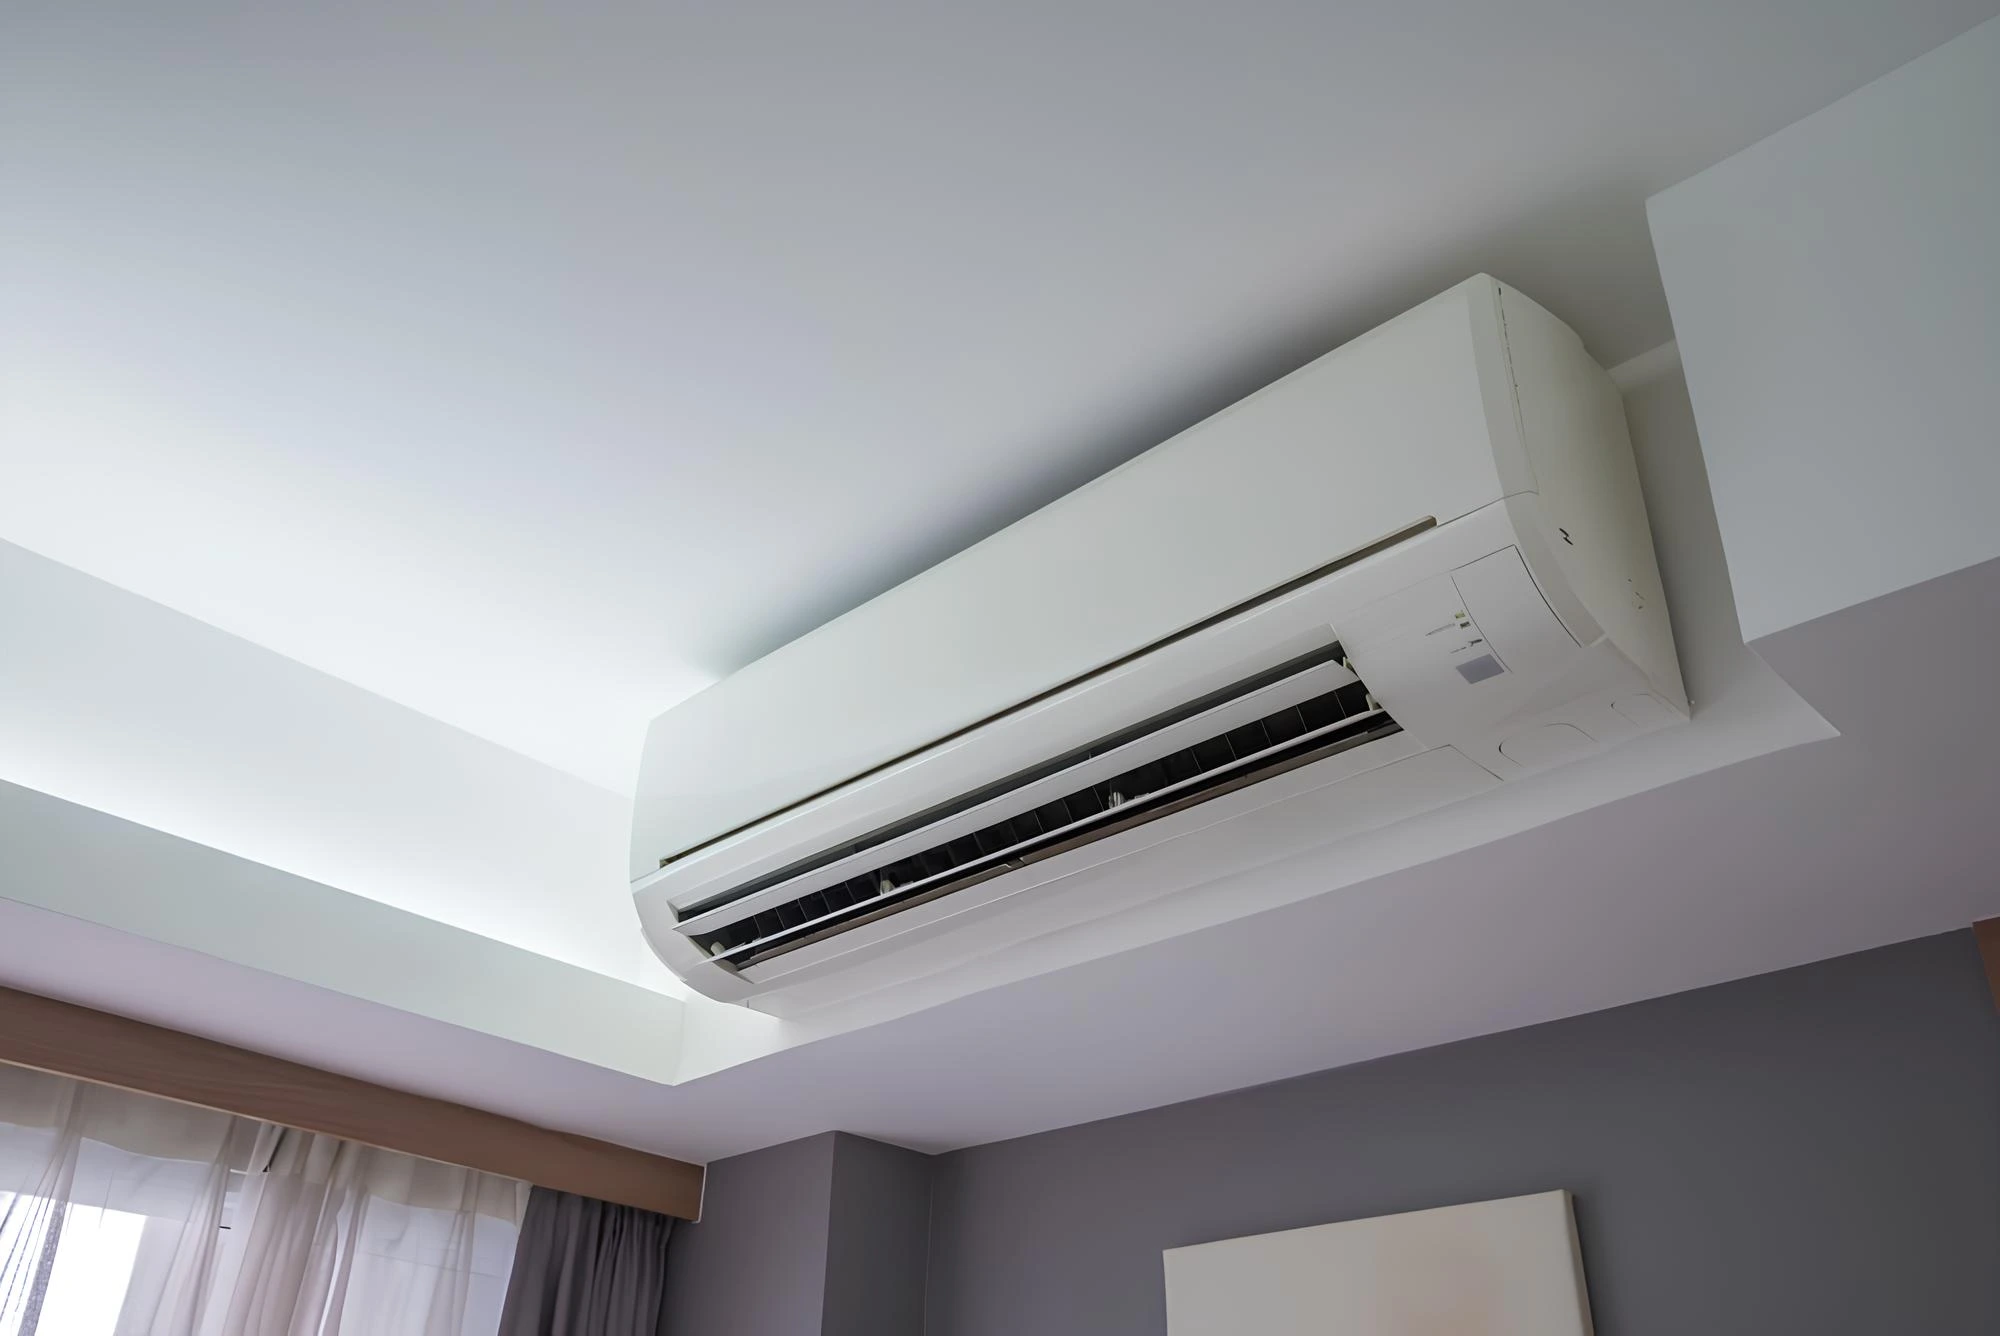
2. Poor Unit Placement (Indoor & Outdoor)
Placement errors can kill performance. A common mistake: stuffing the outdoor unit in a cramped space. Air conditioners need good airflow around the condenser. If your outdoor unit (the big metal box) is too close to a wall, fence, shed, or dense shrubs, it can’t properly reject heat. Outdoor components require good air circulation to work efficiently. So always mount the outdoor condenser in an open, shaded spot, not in a tight cupboard or behind a rainwater tank. Leave at least 30 cm clearance on all sides, and keep it off the ground (use brackets or a concrete slab) to avoid damp, leaves, or insects getting inside.
Inside placement matters too. People often think “let’s put it above the TV” or behind a sofa, but these are mistakes. The indoor unit should be high on a wall for cooling, yet away from direct sunlight or heat sources like ovens, stoves, or fireplaces. This way, the thermostat reads room temperature correctly. Avoid tiny alcoves or corners that block airflow. The unit’s air path must be clear to the whole room. Otherwise, you’ll get hotspots and cold drafts.
Additionally, consider sound and neighbours. Noise laws in Australia are strict, even in residential zones. In Western Australia, for example, installers must conduct a noise assessment before installation, and violators have had to shut off noisy units until fixed. Melbourne doesn’t have the same acronym rules as WA, but councils can still cite excessive noise. So keep the outdoor unit away from bedroom windows or neighbour fences if possible, and check it meets local guidelines.
Always plan both units’ positions before drilling. Double-check that the indoor unit isn’t hitting a stud or beam inside the wall, and that the outdoor unit isn’t blocking your walkway or driveway.
3. Electrical and Compliance Oversights
This is no place for a DIY weekend warrior. Australian law mandates licensed trades for these jobs. In Victoria (and almost everywhere), a split-system must be installed by qualified tradespeople. This means an A-grade electrician and a plumber with a refrigerant handling licence from the Australian Refrigeration Council (ARC). Why? Split systems involve mains electricity and refrigerant gas, both of which can kill if mishandled.
For example, after installation, you must obtain an Electrical Safety Certificate (ESC) and a Plumbing Compliance Certificate. Only a licensed installer can provide these mandatory documents. Without them, your warranty (and even insurance) is void. Licensed installers carry the right tools to crimp wires correctly, test for insulation, and install a proper isolation switch. They also know how to earth the outdoor unit properly and fit the correct-sized circuit breaker.
Common mistakes include: wiring the unit to an undersized cable (risk of fire), not installing a mandatory isolator, or failing to seal cable entries. Any of those can trip breakers, cause shocks, or void safety rules. A pro installer will ensure the electrical panel has the correct breaker type and that all work passes inspection.
4. Refrigerant Leaks & Poor Sealing
A less obvious but dangerous mistake is sloppy refrigerant work. After drilling the wall, the copper lines must be carefully flared and vacuumed to remove air and moisture before charging with refrigerant. Any leftover air or water will corrode the system or reduce cooling. If lines aren’t flared correctly, they can kink or leak. The fix? Professionals use specialized gauges and vacuum pumps, another reason to hire a licensed installer with ARC certification.
Likewise, failing to test for leaks is bad news. Even a tiny refrigerant leak can cause your new system to underperform (or stop cooling altogether) and can be illegal due to ozone protection rules. After charging, installers should check pressure levels and leak-test joints.
Don’t forget to seal wall holes tightly. Gaps around the pipe should be filled with foam or cement to prevent dust, bugs, or water ingress, which can cause rust or mold.
If something seems off (you hear hissing, or ice on the lines, or weak airflow), call your installer before using the unit extensively. It’s far cheaper to fix a refrigerant issue early under warranty than to deal with a breakdown later.
5. Ignoring Manufacturer Guidelines and Warranty
You might think you know best, but manufacturers often have strict requirements for installing their units. Skipping their instructions can cost you your warranty. For instance, many brands explicitly void their warranty if installation wasn’t done by a certified tech or if the installer doesn’t provide proof of proper installation.
That means: read the manual! It will specify clearances, recommended fasteners, and even how to test the system after setup. Follow all torque and leveling instructions to avoid stress on the unit. Also, register your unit with the manufacturer (often online) right after installation. Keep all paperwork: if a part fails, the company will want proof that the unit was installed and maintained correctly.
Always confirm what the warranty covers. Some need annual servicing reports by licensed techs. If you overlook a step (like not flushing the lines properly or skipping a pre-start check), you might end up paying out of pocket for any “mistakes” later.
6. Neglecting Energy Efficiency
Last but not least, don’t overlook energy efficiency in the rush to get it working. Split systems are inherently efficient; even a 2- or 3-star model uses far less electricity than a portable heater or older gas unit. But more stars mean more savings. Always check the Zoned Energy Rating label on the unit. A 5-star split system might cost a bit more upfront, but could save hundreds on your power bills over its life. Remember, in Melbourne’s climate (where you use heating a lot), a higher heating star rating pays off.
Home improvement schemes like the Victorian Energy Upgrades (VEU) program even offer rebates for installing high-efficiency systems. The Victorian energy guide encourages homeowners to “upgrade to an efficient heating and cooling system to save on energy bills and reduce greenhouse gas emissions”. In practice, that means:
- Choose a high-star unit (at least 4 stars) for both heating and cooling.
- Consider inverter technology (it adjusts power use to demand, which cuts running costs).
- Seal your home well: gaps around doors/windows can waste your nice cool air. Insulation and double-glazing also pay off.
By prioritizing efficiency, you avoid the “false economy” of a cheap install that costs a fortune in electricity later.
7. DIY vs Professional: Which to Choose?
Given all these technical steps, the DIY question comes up: should you roll up your sleeves or call an expert? If you’re handy with a spanner and the fridge, you might be tempted. For safety reasons, a reverse-cycle air conditioner must be installed by a licensed tradesperson, not by an unqualified homeowner.
Why go pro? Professionals guarantee compliance. They know the local rules; for example, they’ll submit paperwork for your compliance certificates in Victoria. They have experience with tricky walls (steel frames, concrete) and know how to conceal pipes neatly. Crucially, using a licensed installer means your manufacturer’s warranty stays valid.
The DIY risk: If you wire it wrong or let refrigerant leak, you could incur fines, void warranties, or even damage your home. A 2024 industry report noted that improper DIY installs often lead to emergency callbacks, which end up costing more than the savings. Plus, a poor install can severely shorten the system’s lifespan.
In short, DIY might save cash upfront, but professional installers (especially Melbourne split system installers who know Victorian requirements) will save you headaches.
Conclusion
A smooth, efficient split system installation boils down to planning, precision, and the right partners. To recap, avoid these pitfalls: wrong size unit, blocked placement, dodgy wiring, refrigerant leaks, ignoring manuals, and skimping on efficiency. Each mistake chips away at performance or safety, and fixing it later is a hassle. Instead, take a smart approach: size your system to your rooms, place units in airy spots, follow electrical and manufacturer rules, and choose high-star models.
By sticking to this advice, you’ll enjoy a comfy home year-round and maybe even trim your power bill. If you’re still unsure, talk to a licensed Melbourne HVAC installer or building certifier before you start. They can inspect your plans and point out any red flags. After all, doing it right today means cool, worry-free summers (and cozy winters) tomorrow.
Get in touch with Eleco Electrical & Data today to schedule your installation or request a free quote. Contact us and let our local experts deliver reliable climate control, exceptional workmanship, and peace of mind for your home or business.
FAQs:
-
How can I make my split system more energy-efficient?
To boost your energy-efficient split system performance, regularly clean the filters, maintain proper airflow around the outdoor unit, and ensure doors and windows are sealed. Choosing a unit with a high Zoned Energy Rating and inverter technology also helps reduce power consumption. Annual servicing by a licensed technician keeps your system running smoothly and efficiently.
-
What are the most common split system installation issues?
Common split system installation issues include incorrect unit sizing, poor placement of the indoor or outdoor unit, inadequate sealing of pipework, and faulty electrical connections. These mistakes can lead to weak airflow, higher energy bills, or even system failure. Working with a reputable installer ensures all these details are handled correctly from the start.
-
Can I install a split system air conditioner myself?
While DIY installation might seem tempting, it’s not recommended or legal in most cases. In Australia, handling refrigerant and electrical wiring must be done by licensed professionals with ARC and electrical certifications. Doing it yourself can void warranties, breach regulations, and lead to safety risks, from gas leaks to electrical hazards. Always choose a certified expert to ensure your system runs safely and efficiently.